Sewing a needle case
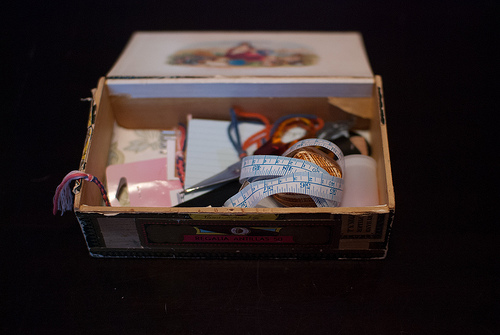
Having bought some lovely fabric at the Stitching and Knitting show a few weeks ago, I wanted to find a simple, yet practical, small sewing project to work on. My sewing kit is currently basic, and some of it is not all that inspiring. It is formed of one old cigar box which sits next to the sofa and contains the implements that I’m using at the time - usually weaving needles, tape measure, scissors, a fork and an Afro comb (used as beaters for weaving projects) and crochet stitch markers. This cigar box used to have odd bits of spare cutlery in it at my parents home and I love this little box and am pleased to be making such good use of it. In the cupboard, out of sight, sits a plastic lunch box which contains threads, pins, needle threaders and the needle case that I’ve inherited from Mum and that I have no intention of replacing. Currently though, the needles in the cigar box are stuffed into the pin cushion that I made out of weaving project 1. So, I thought I’d look into making a needle case to sit in the cigar box.
After looking at a lot of likely looking tutorials, I came across this one which has the benefit of lots of photos, and simple explanations.
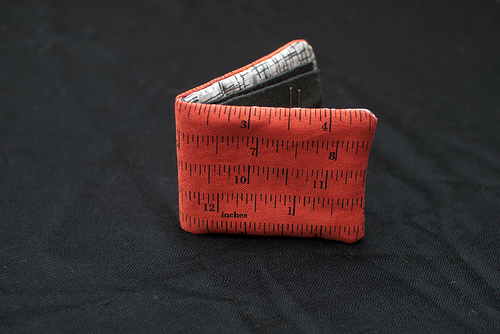
I headed out to my local fabric store and bought some felt, some wadding and some thread to go with the fabrics that I’d chosen (orange tape measure design for the outside and a white, grey and black combo for the inside) and then waited a week to get up the courage to do the cutting up and pinning together bit. That went ok. I didn’t follow the dimensions in the tutorial though - instead I decided to aim for a finished size of 19cm x 8cm (as this is the size of my Mum’s one which felt about right) and so cut my fabric to 21cm x 10cm.
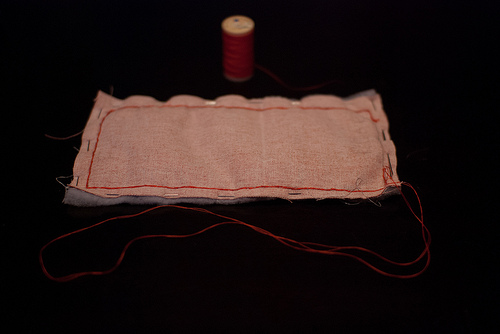
The next stage was the sewing together bit. Only when I was half way through stitching did I realise that I’d chosen a difficult fabric to work with as there was almost no way it was going to be straight when I’d finished. Ho hum. Still, having realised this I decided to continue anyway as it would serve as a useful reminder and in the event is much closer to straight than I’d dreamed of, and would probably have achieved if I’d fixated on it earlier!
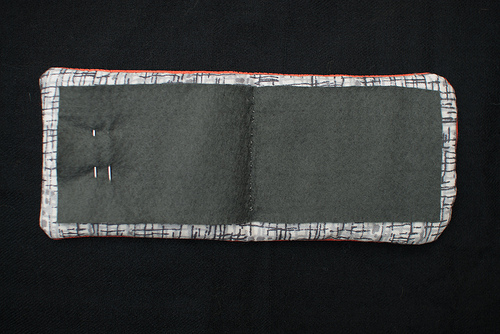
The finished size is 18.5cm x 7.5cm so I lost half a cm in both directions during assembly/turning inside out. I decided to cut the felt to 17cm x 6cm. Actually, I think cutting the felt was the hardest part of the whole project as I couldn’t get it to be straight (and it still isn’t). I deviated from the tutorial a bit when sewing the felt in. As I was hand stitching it, it made little sense to me to stitch through the back fabric as well, so I just stitched through the lining fabric and the wadding, leaving the back clear.
The only thing I’m unsure about is whether to put a fastener on it or not. I was originally going to use some ribbon, but it just seemed too much for such a little needle case. I then thought about sewing a button to the front, and making some kind of loop to see on to the back to hold it in place but again, I think that’ll detract from the simplicity of the case. Maybe just a hook and eye or something, enough to close it but without cluttering it up as I like the simplicity and the fun of the fabric, but even this seems a bit much. At the moment, I’ve gone with the no closure option and I’ll see how it works out.
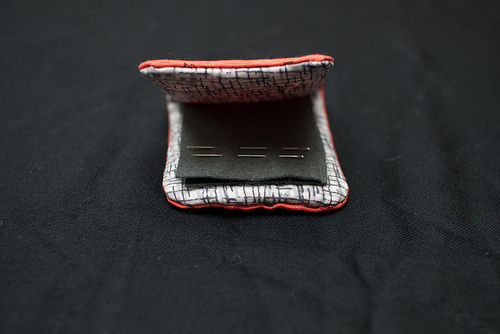
I’m really pretty happy with myself, and my little needle case and there isn’t much I’d change (beyond getting the felt straighter). Hopefully it’ll inspire me to find and try another bit of sewing, after all, no point having a cute little needle case if I don’t use it is there? Maybe it is time to start planning the assembly of weaving project 16 and the beautiful blue fabric I bought at the show into an iPad case. Maybe…