Weaving attempt #1
After visiting the Power of Making, and looking at all the different crafts on show, I decided to have a go at weaving. Partly because the barrier to entry is pretty low and partly because I didn't know anyone else who did it, which meant my slow and laboured starts weren't going to be an embarassment to me.
I'd found this, and a friend had mentioned this, both of which use a cardboard loom. Like I say, low barrier to entry.
I set up my warp threads one evening, and took a couple of attempts to try and get them tight, but not so tight that they bent the cardboard.
I then took advantage of a few hours of free time, and made a start. My observations at the end of Day 1 were:
- if using variegated cotton, remember which end you need to start with to get any form of continuity going (see thicker green bit at the bottom)
- a fork is very useful to push the weft down
- it is wonderfully absorbing
- I was being too tight at the edges, hence the inwards curve
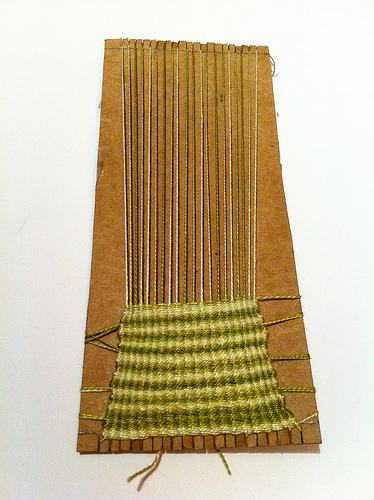
Over the next week or so I made further progress, and made deliberate efforts not to be as tight around the edges and to try and smooth it off. I'd already decided that this wasn't going to be a bookmark, but figured I could make a pin cushion out of it as long as I got straighter as I progressed.
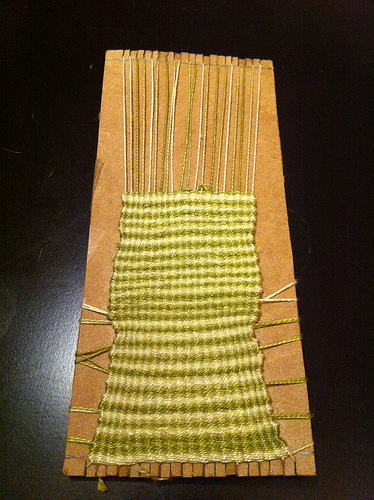
I also changed the method I was using to add in new pieces of weft. I'd initially gone for the leave a good length and sew it in later approach (as described in the 2 articles above), but I figured that as this weft was so tight, I could easily weave the old and new threads together as I went. This was the approach I took for the rest of the piece and worked much better for me as it felt much tidier as I progressed. The start and end of the piece must have a long tail as this will need to be sewn through to get some security.
Yesterday, I finished the weaving bit.
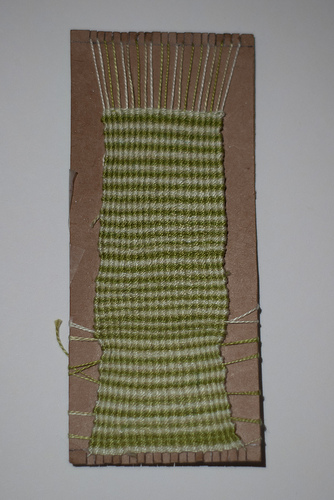
This morning I took it off the cardboard loom, sewed in the start and end threads, trimmed all the other threads and knotted the warp threads in twos. This proved to be pretty tough going actually, partially because one set were a bit too short to be able to manipulate, and partially because I couldn't work out how to make them line up. The edges definitely got straighter the more I did, and had I done it all like the end point, then there is potential it could have been a bookmark as intended.
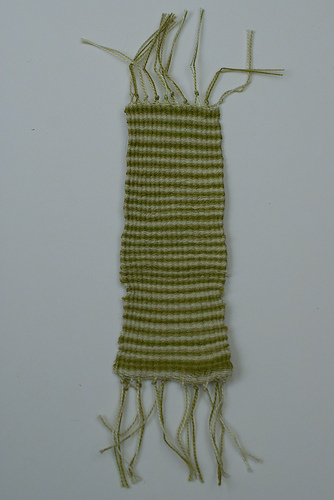
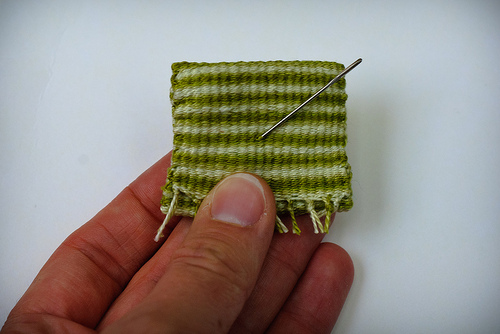
I then started the sewing it together process, to make it into a pin cushion. Up until now, whilst doing both this project, and the 2 cross-stitch iPhone cases my needle has been tucked into an old bookmark whilst not in use, so at least now it has a much nicer home to live in.
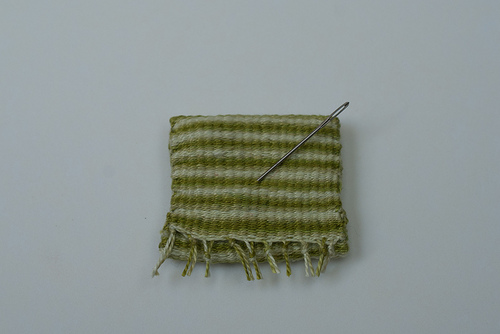
And for scale, here it is with my hand:
So some of the lessons learnt:
- finishing off is hard - trying to get knots to line up turned out to be almost impossible - so I need to practice a lot, and find some more helpful resources (the 2 links above both tell you what to do, but not necessarily how to do it) and see what alternatives there are (as this proved to be the most frustrating thing of the whole project)
- keeping the edges straight is a constant challenge but isn't impossible
- it's very absorbing
- there is a whole lot to learn and experiment with
Next steps:
- I'm thinking of trying the same again, but using an old picture frame to make a wooden loom to give more strength and stability
- I'm thinking of using ribbon as my warp threads to see how that looks
- I'm wondering if I could make some form of blanket out of squares of weaving - I'd need to work out how the top and bottom would be finished off - obviously knots are out of the question - and how I'd join the squares together but this would allow me to try lots of different stitches whilst still producing something vaguely useful
So, overall, I think I'm classing it as a success - the finished pin cushion feels lovely in the hand, the variegated cotton colours have worked well and there is something quite magical about creating cloth out of nothing other than a ball of cotton.