A patchwork pin cushion

I saw this tutorial the other week. I can’t quite remember how, though it might have been because I was looking at this list of sewing tutorials and followed various links. Anyway, regardless of how I found it, I did find it, and thought it was cute. In particular I liked the stacked coin version.
I’ve saved away all the small off-cuts of fabric from my recent projects, and so had enough inch wide strips to stack together into my interpretation of this design. I would say it’s inspired by the purl bee tutorial, rather than based on it.
On Bank Holiday Monday I decided to give it a go. So, I started off with 7 3” x 1” pieces - 2 x black (left over from this), 2 x orange flowered (left over from this), 2 x yellow/red/blue/white flowers (left over from this), and 1 x orange (left over from this) — and sewed them all together strip by strip (as per the purl bee instructions).
I then cut 4” wide pieces of black and sliced the now sewn together stacked fabrics into 1” slices. I started assembling them in black, coloured strip, black, coloured strips etc until completed. I had to unstitch one strip as it slipped during the sewing. By this point the back was a bit busy. I kept attempting to press the seams into submission, but by the last strip it was hit and miss whether I was getting the right seam or not!
Once I’d got the black/stripe combination into something vaguely resembling a rectangle, I cut the fabric for the back. I’d decided that I wanted to try out an overlapped back in preparation for making a cushion at a later stage, so cut two pieces of black fabric. I also cut out a piece of batting and sewed the top, the batting and the overlapped back pieces together.
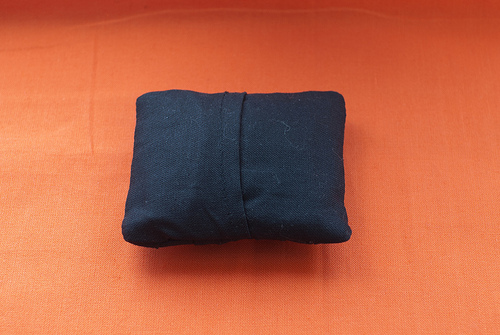
Finally I took some thin, white fabric and made an inner bag which I filled with off-cuts of grey wool (left over from my scarf) and a bit of lavender (no reason why a pin cushion can’t smell nice is there?). I then massaged the white bag into the pin cushion, and that was that.
I’m rather pleased with the result. I know that the “coins” aren’t lined up completely, but given the scale, the finished dimensions are 2.75” x 2.25”, I find that forgivable given my experience to date. My straight lines are getting better — at least when I focus on them, my confidence is growing, and I can now thread the machine in about a minute. All of this practice is paying off.