WP58: First attempt at Doni's Deli bag
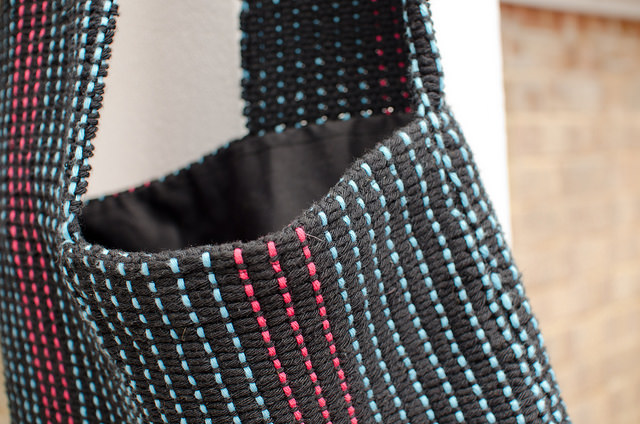
Towards the end of last year Meg posted that she’d made a Doni’s Deli bag. This was the first time I’d seen it and I loved the idea. It took me a while to get brave enough to give it a try but in early June I got planning. I measured my current work bag and decided that would be a good guide. And it pretty much matched Doni’s own calculations so I knew I was on the right track. I’d enjoyed doing pick-up stick weaving so decided to do some more of that. I wanted the bag to be mainly black. But with highlight colours. I decided to use more of the Rico Creative Cotton Aran yarn as it is nice and chunky. And so picked out turquoise and fuchsia from the colours available. I picked a pattern from my blanket that I knew would result in a dense fabric and show the colours off well.
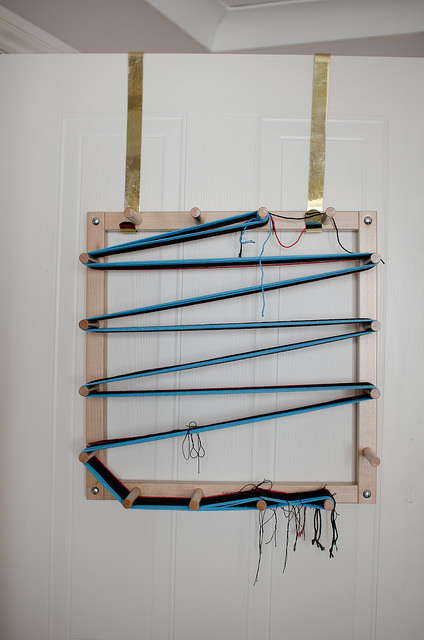
I used my warping board to sort the warp threads out. And it is a good job I did because I doubt there is a room in my house long enough to have managed otherwise. I slotted in the pick up stick using the 3/1 floats alternating with plain-weave picks pattern from the Weaver’s Idea book. And off I went. I immediately loved the colours and pattern.
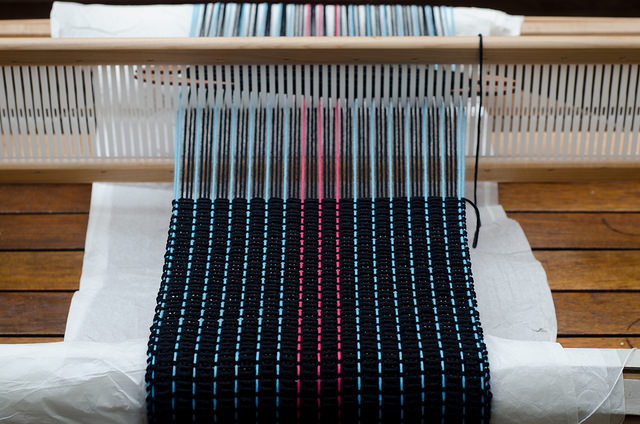
It took me quite a few weekends to weave but I was in no rush. It all went to plan but I did have to thread some weights on to my selvedge threads to keep tension as they were starting to sag a bit. It came off the loom well and after an inspection I found one flaw which was easily mendable.
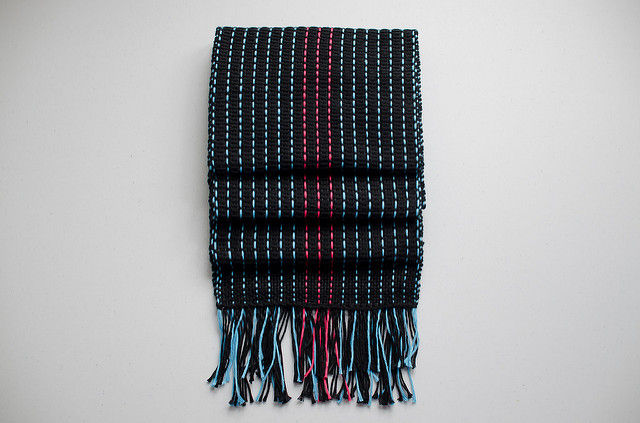
I wet finished it by putting it in the washing machine at a 95 degrees C wash and a 600 spin cycle. I needed it to be a robust fabric. I air dried it without blocking.
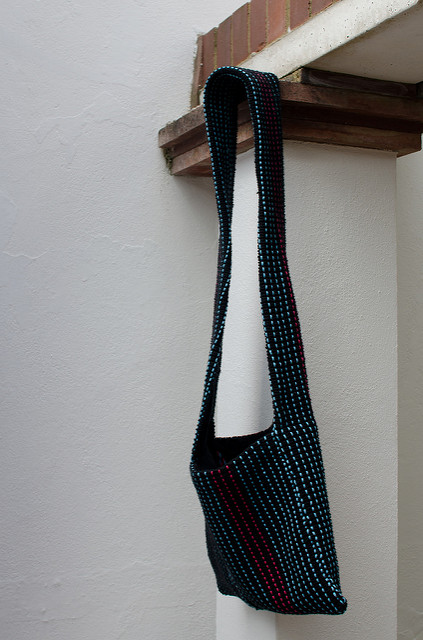
The following weekend I started the assembly process. I machine stitched the hems and chopped off the fringe. And then started folding things together. I got myself into a bit of a mess at once stage when I realised I’d twisted the strap element and so had to unstitch. Annoying and a bit scary. I think I was so anxious I forgot to think. But I restitched it and following the idea I spotted on someone else’s blog stitched the strap underneath to get a clean finish.
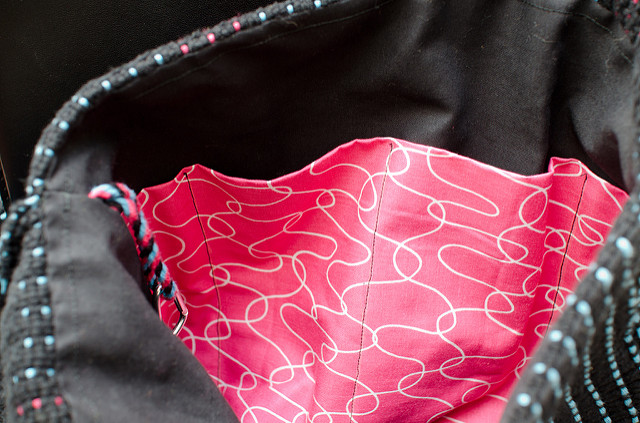
The last phase was sewing in the lining. I looked in my fabric stash and found enough plain black cotton. Having sketched a few ideas down I thought I could do a sewn-in-pocket idea. A bit like a craft roll idea. So I went to my local fabric shop and found some great pink fabric to use as the pocket fabric. I followed this inner constructing tutorial again. I decided that for my keys I’d make a cord and clip and sew it into the lining. Out came the fringe twister again. I think I’ve only used it twice to fringe twist but I’ve used it lots of times to make cord. I measured pockets for keys, two pens, my phone and then left the rest. I ladder stitched the assembled inner to the bag itself. And took it outside for a photo shoot.
I’ve been using it as my work bag for the last week or so. The only change I’ve made is to buy a set of magnetic clips so that the bag has a closure. I need to follow the zip tutorial soon and get over my fear. I’ve been saying this all year but there seems to be always something else that needs doing.
It isn’t the perfect bag by any means. But it has been a great learning project.
Things I’m pleased I did:
- tried it using aran
- used such a thick pick up pattern
- used those colours
- sewed the strap together in the middle
- used the sizing I did
Things I’d change:
- use less pattern to make the joins less noticeable
- use the colours more as a central stripe. Again this should make the join less noticeable
- sew it up right handed. I’ve made a left handed bag
- make the key pocket a little bit bigger. It is quite a tight squeeze
- have enough fabric to sew up the bottom of the inner. I only had enough to fold the black fabric together so there is nothing holding the pink pocket closed at the bottom
Weaving project 60 is set up on the loom next to me as I write. It is set up to make another one of these. This time using a 4 ply yarn and patterns and colours only in the centre. I should be able to see what difference those make to the finished article. And because the weaving element will be slow I’ll be able to see how this bag ages before assembling the next one.
A fun project and I’m enjoying being able to use something I made from scratch as my work bag.