First attempts at making body lotion bars
A few months ago I posted about plastic free bodycare and how I was trying to reduce the plastic that I consume this way. A friend left me a comment asking whether I’d considered making my own products. I hadn’t. But a quick search of the internet found me lots of useful sites that seemed to suggest that it wasn’t beyond my skill level.
The item that I mentioned last time that I use a lot of, and that I was having difficulty finding good, perfume-free, options for was body lotion bars. So I decided that this was where I would start. I wanted to avoid using beeswax, or any wax, if at all possible and so this recipe is where I started from.
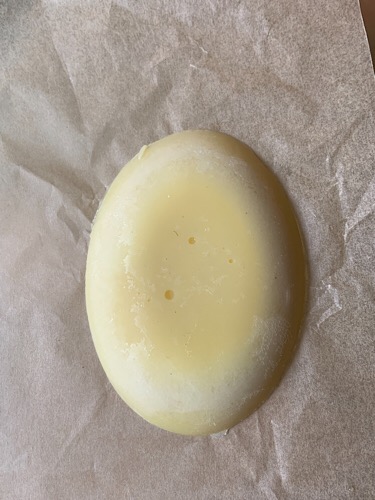
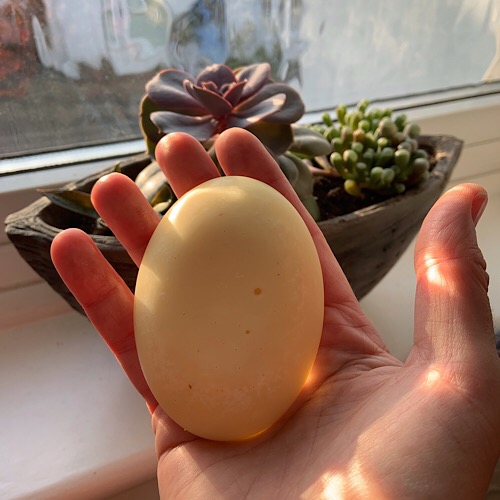
I needed to start collecting some ingredients. And I decided to start with a mould. I knew I wanted a silicon mould so that it would be easy to turn the bar out. And as the intended audience is myself, I knew that I wasn’t bothered about the mould needing to be beautiful in its own right and so didn’t want flowers, or complex shapes. From the bars, I’d used so far the ones that fit comfortably into my hand are my favourite, so that’s what I opted for. A rounded oval/half egg shape - though the egg part of that might have more to do with me writing this on the run up to Easter!
Once the mould had arrived, I wanted to order some kinds of butter. But I wanted to be plastic free if possible which narrowed the options. I discovered The Soapery and found a comment that a previous customer had asked for, and received, a plastic-free delivery. So that’s what I did as well. My order arrived carefully wrapped in paper bags, and I then put them into containers I already had to hand to keep them as fresh as possible.
I’ve made four bars now and what follows are the quantities for each so far. I haven’t perfected my recipe as yet. I didn’t even intend to publish a blog post until I’d settled on my favourite and most reliable combination, but I’ve just finished my notebook and so wanted to record the details somewhere before it gets archived.
Attempt one
Based on this recipe I used:
- 2 tablespoons raw organic unrefined cocoa butter
- 1 tablespoon raw organic unrefined shea butter
- 1 teaspoon safflower oil
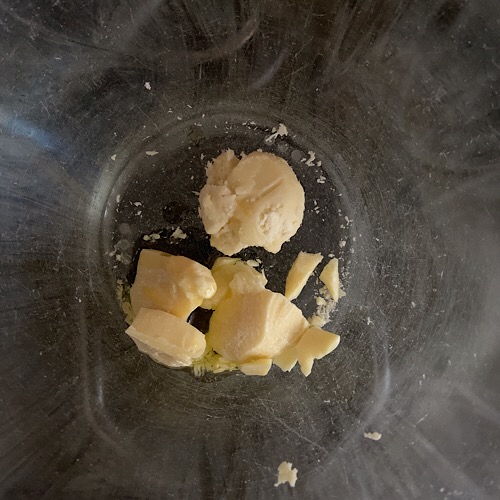
Cocoa butter is solid and brittle, and so trying to work out what a tablespoon of it is was tricky. So I decided to do the best I could do and weigh it and then use weight in the future. I determined that a tablespoon was about 10g.
I put the finished bar into the fridge for an hour as suggested and returned to find it looking solid and wonderful. I took it out and put it into my (warm) bathroom cabinet and later came back to find it melted out of shape and looking a bit sorry for itself.
The raw, unrefined shea butter has a smokey smell, and I don’t find it that pleasant. The cocoa butter smells of chocolate. The combined smell was ok but not gorgeous by any stretch of the imagination.
When using this, it felt a bit oily in some respects, tho that might be a result of the bar having collapsed. I knew I could make further adjustments, so I wasn’t too disheartened. The last bar I bought was just cocoa butter and coconut oil and had stayed firm in my cupboard, so I thought I’d be guided by that next time. Which leads me nicely on to
Attempt Two
Based on my learnings above I opted for a simple recipe. So I went for:
- 30g raw organic unrefined cocoa butter
- 5g coconut oil
Again this made a nice solid bar after being in the fridge for an hour. And again it melted in my bathroom cabinet. This time I remelted the ingredients, put it back into the mould and left it in the fridge overnight. I put it back into the bathroom cabinet, and it held it’s shape. So, that’s my first key learning in this process. Leave it in the fridge for longer to set.
This bar, being mostly cocoa butter, didn’t seem to absorb as well as the first one. So maybe a blend is useful.
Attempt Three
- 40g raw organic unrefined cocoa butter
- 10g raw organic unrefined shea butter
- 2g coconut oil
I left this to set in the fridge overnight as per my leaning above. And it has remained solid. This amount of ingredients is a decent size in terms of both my mould and in terms of the size of the bar and ease of use.
I’m currently using this bar. The shea butter softens up the cocoa butter enough so that it feels like it absorbs instead of sitting on the surface. It doesn’t feel too oily either but does melt well against the heat of skin.
My skin has shown no objection to any of the bars used so far and is pleasantly soft. The scent of chocolate does seem to fade away pretty quickly and doesn’t clash with my perfume. And this was the point of having an unperfumed body lotion/lotion bar in the first place.
Attempt Four
- 40g raw organic unrefined cocoa butter
- 10g refined mango butter
- 2g coconut oil
Having read this article I thought I’d swap the shea butter out to lose the smokey smell and replace it with mango butter as a like-for-like replacement. I didn’t want to make any other adjustments at this stage as this attempt is all about the swap of the two secondary butters. This bar, having had an overnight set in the fridge, is sitting patiently in my bathroom cabinet waiting for Attempt Three to be all used up. Another few days and this will be the one I use.
So far this experiment is working out well. It doesn’t take much time, or money, to make a lotion bar, and they seem to last me a couple of weeks which is long enough to get an idea of how it works against my skin. I’m really grateful that my friend made this suggestion in the first place.


