Lino printing class week 4: Northern Lights
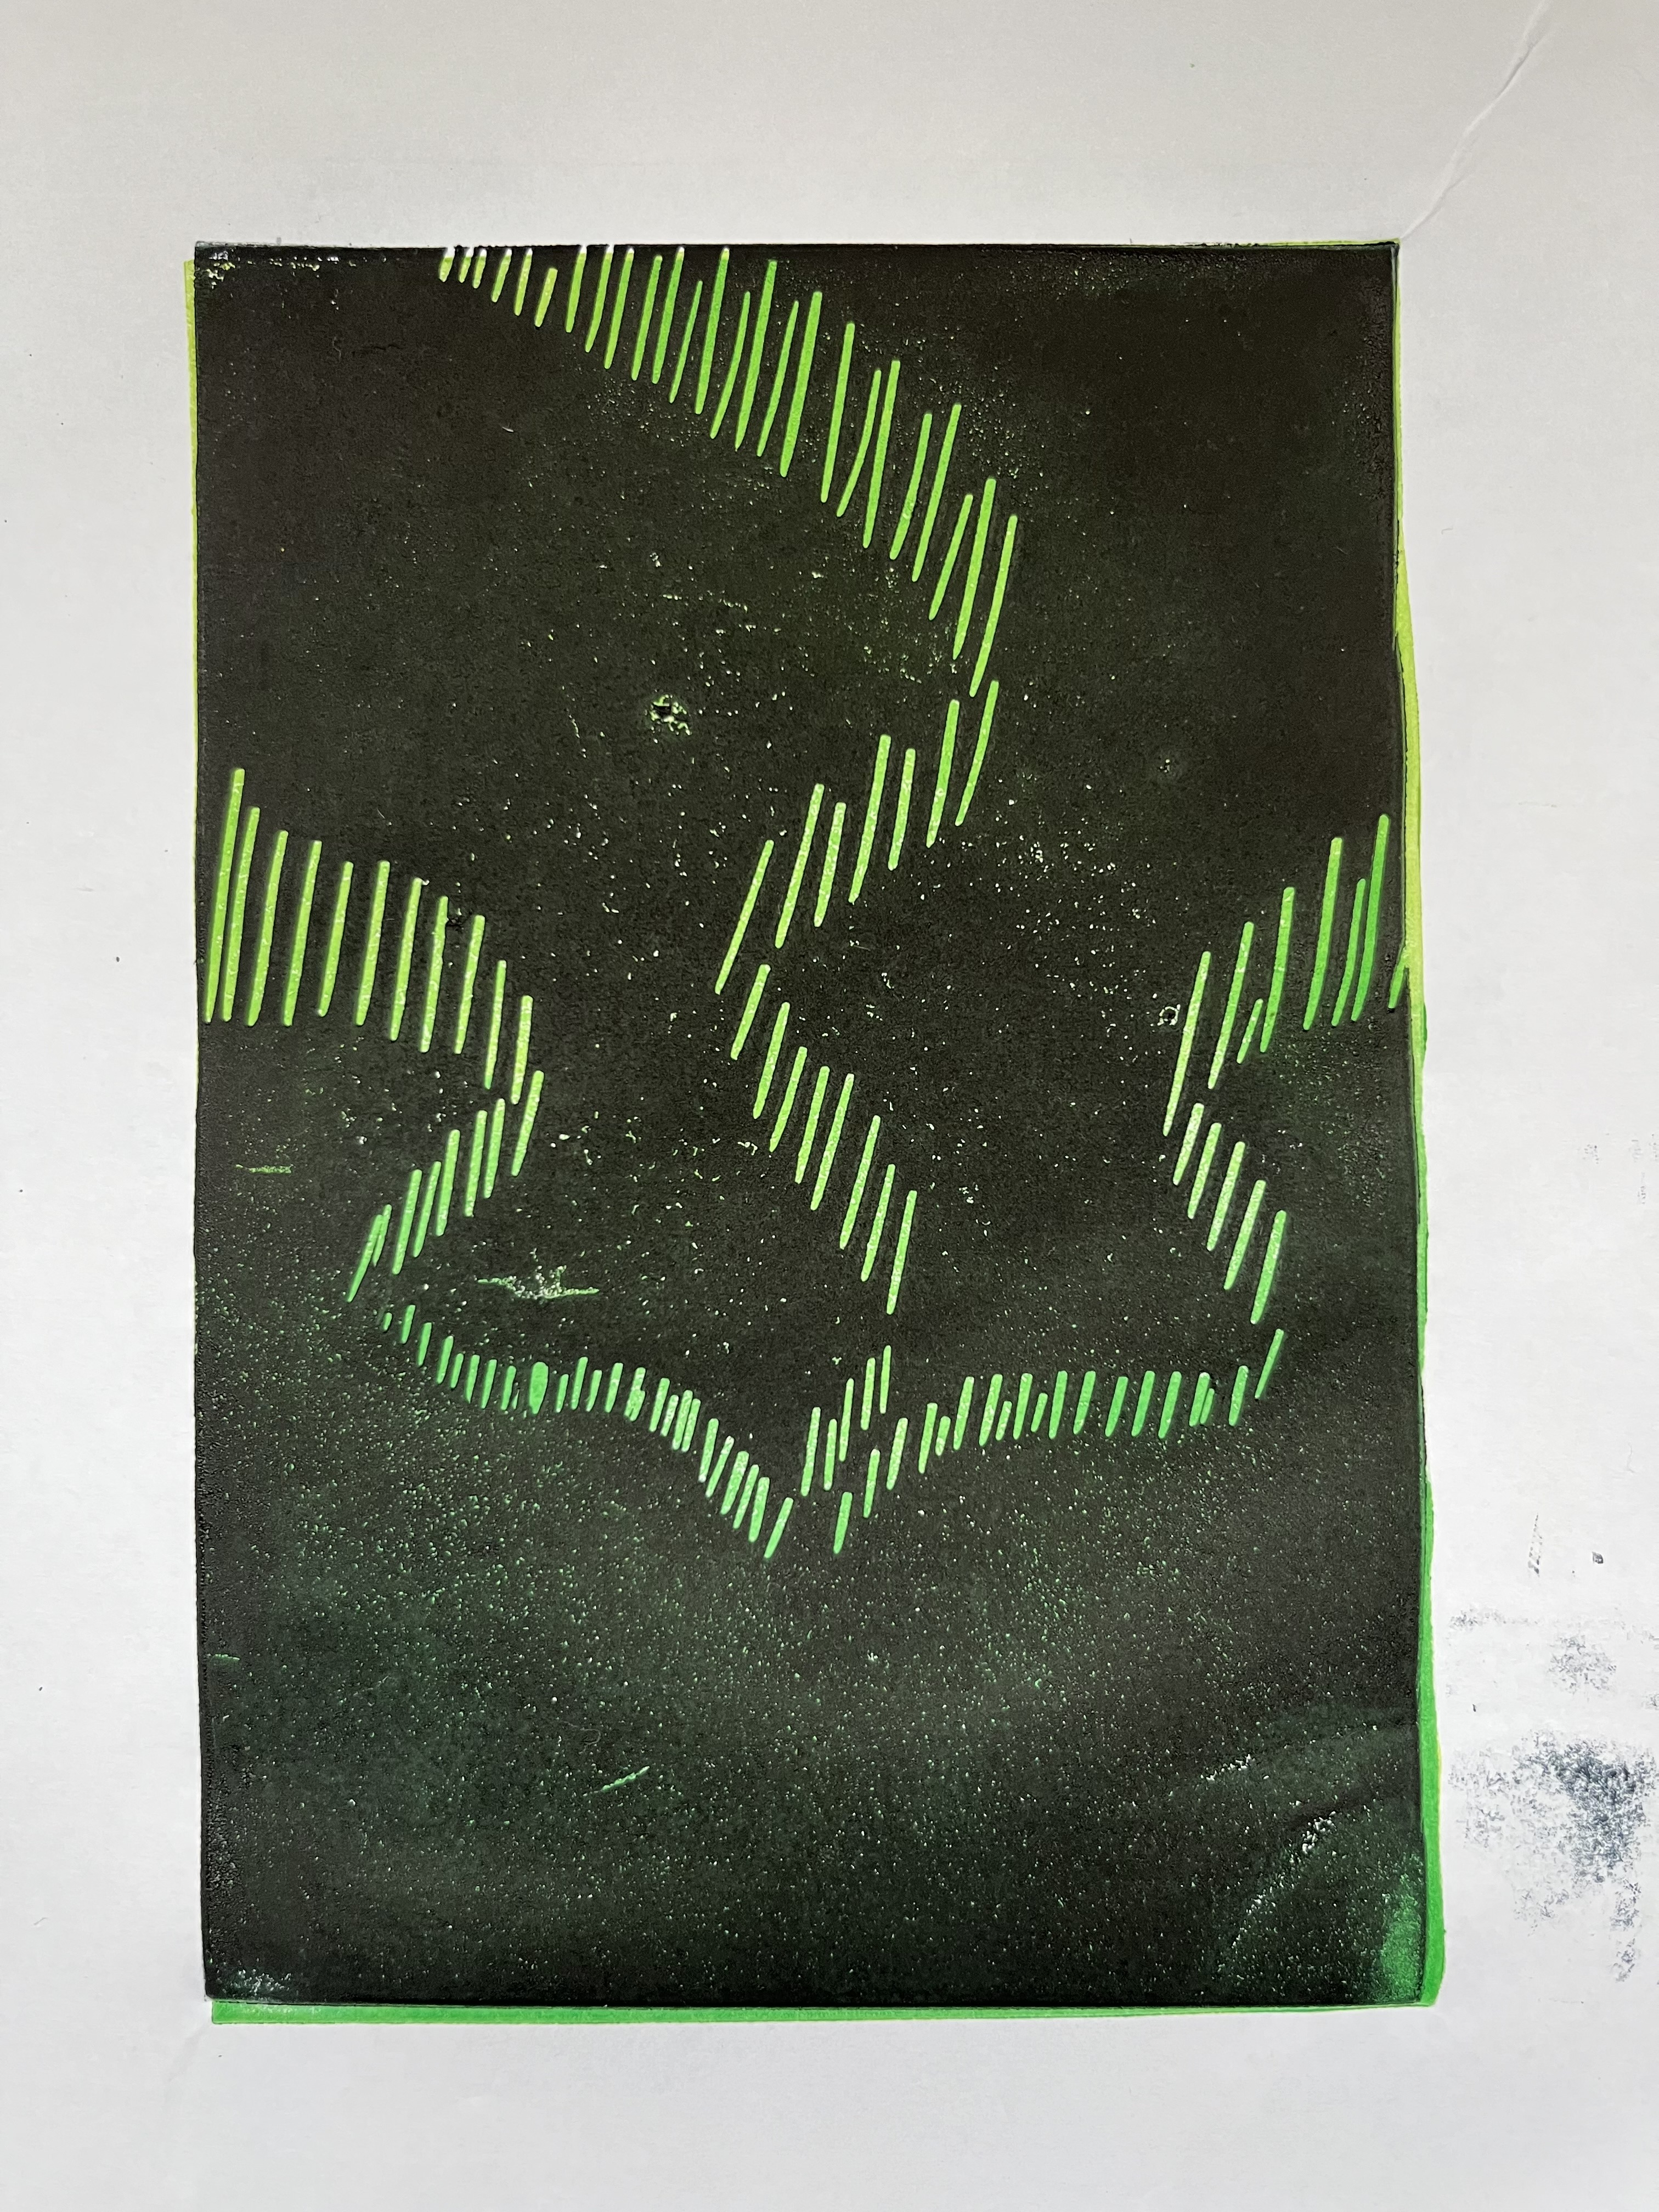
The skill we were learning in today’s class was gradients via the medium of the Northern Lights. We prepared the background prints first (a solid piece of lino covered in yellow, green and turquoise inks) and gave them time to dry a little while we cut out our design.
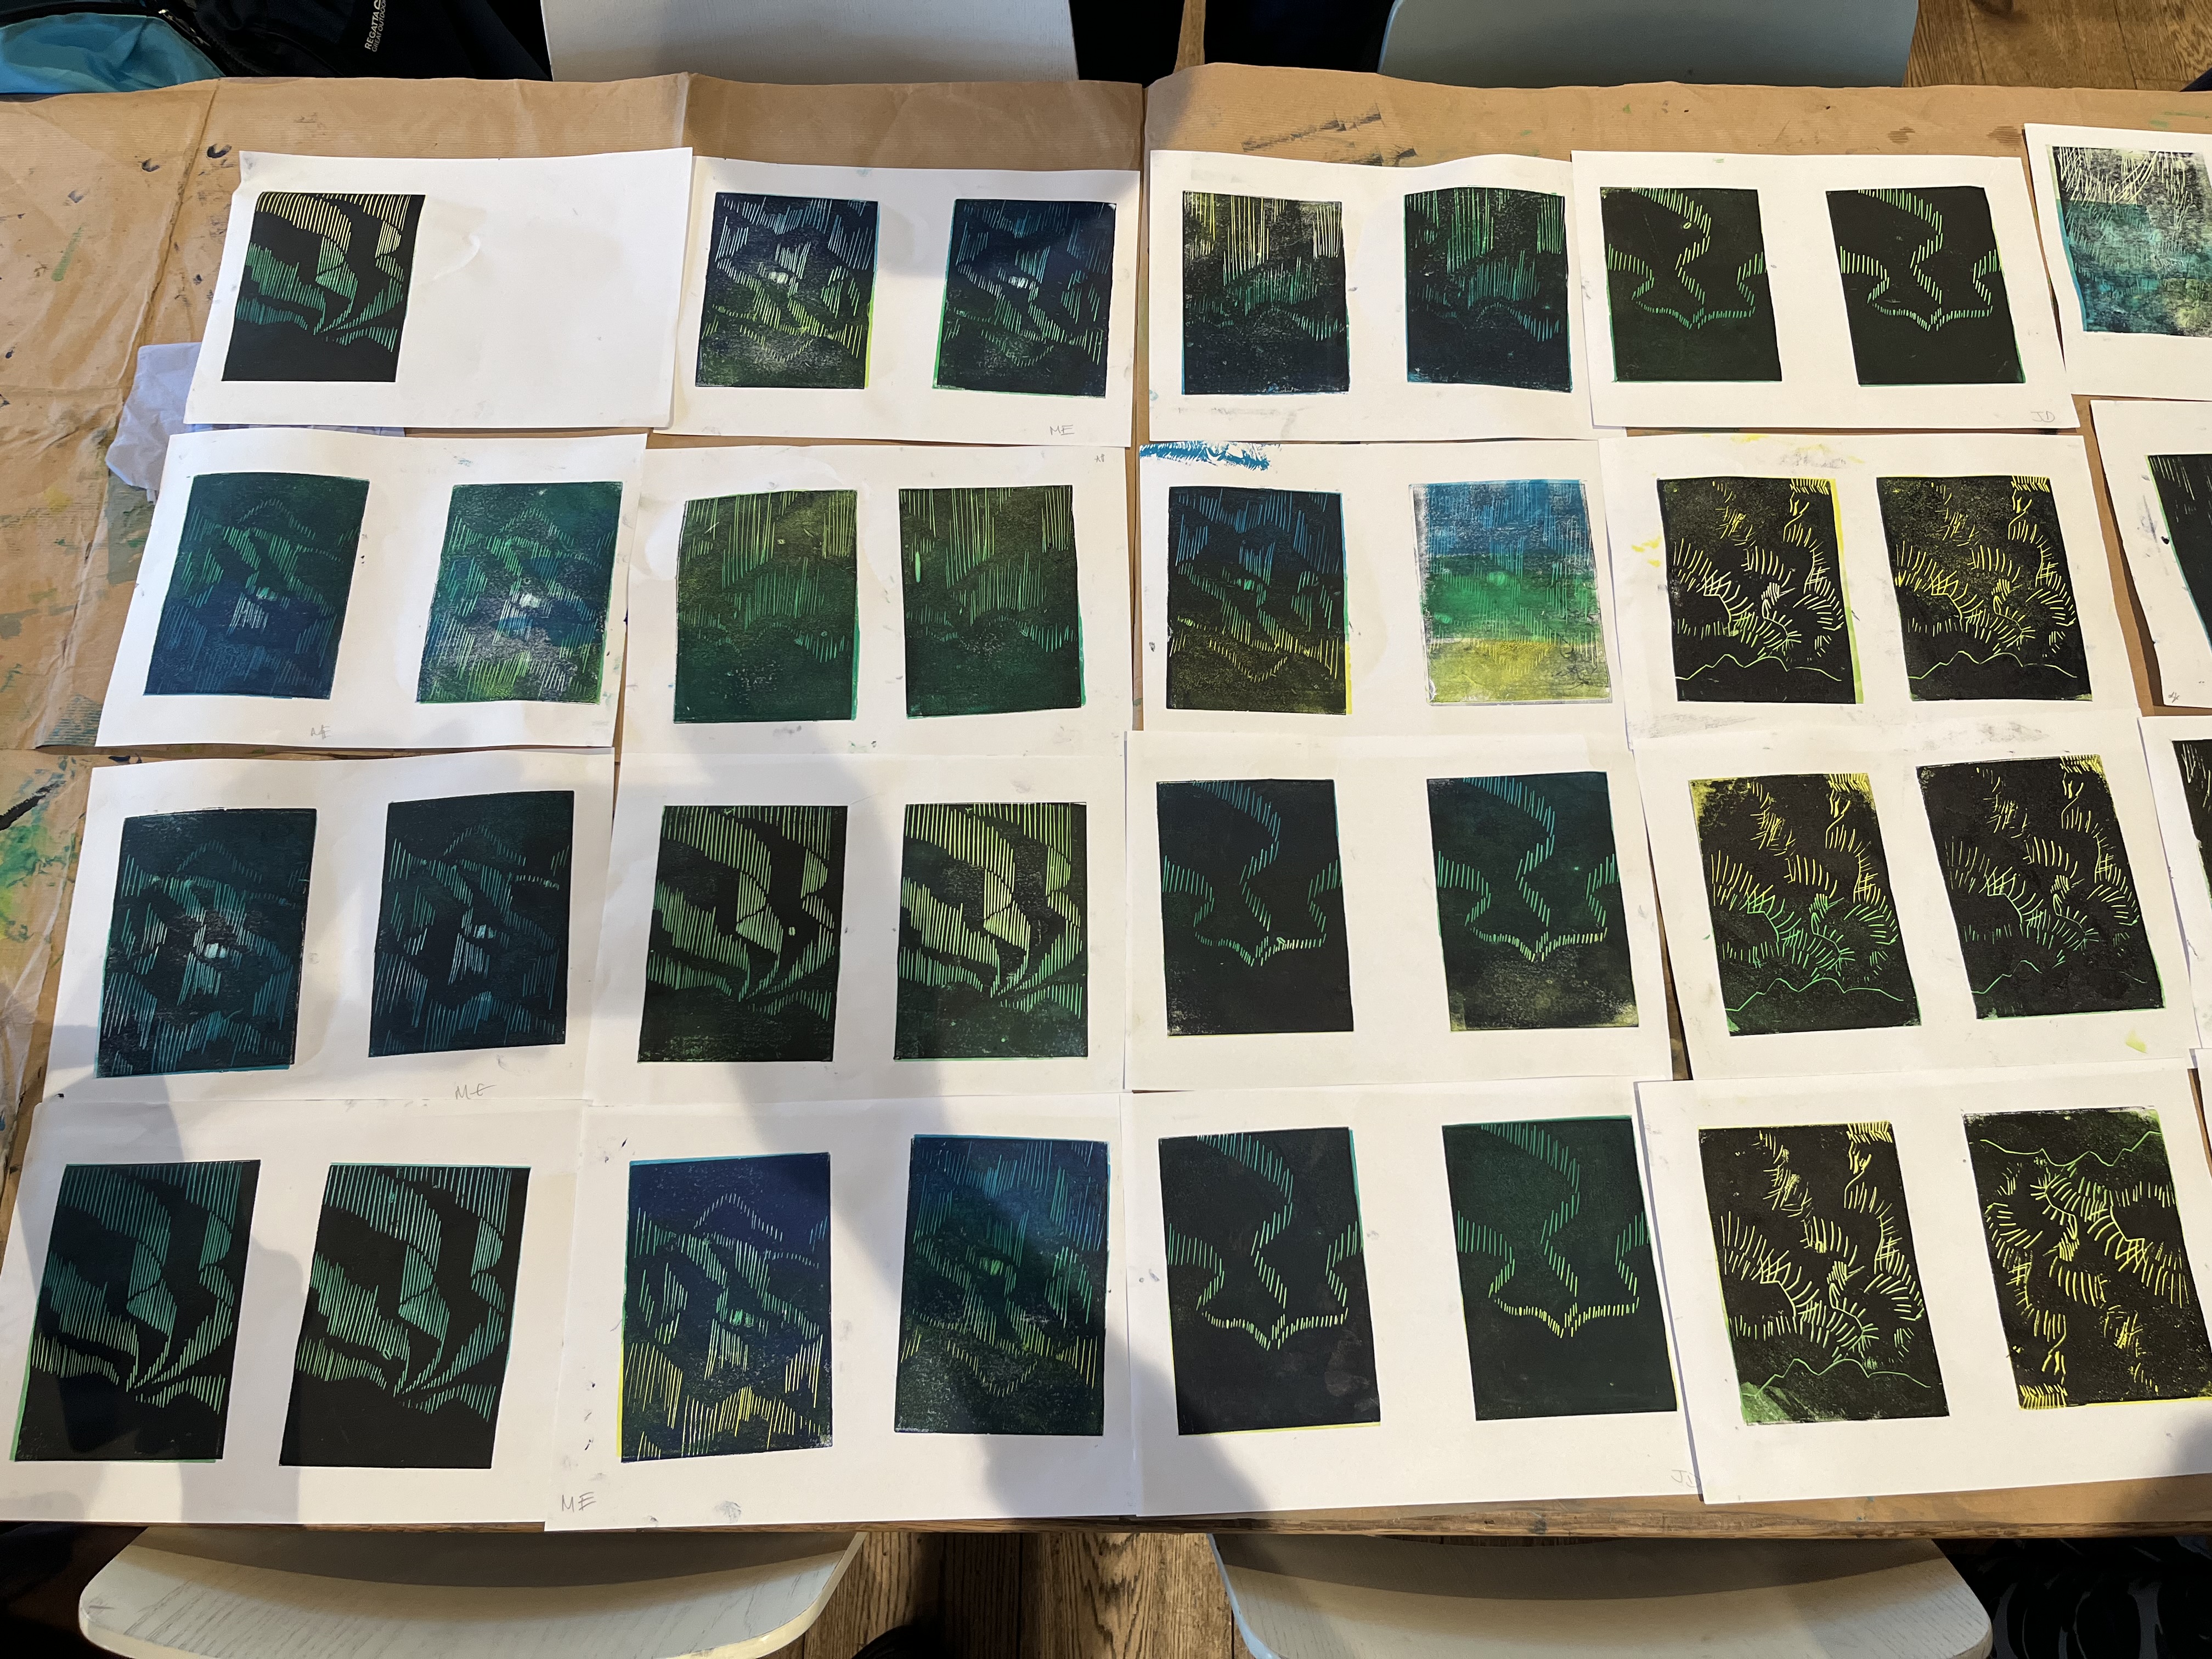
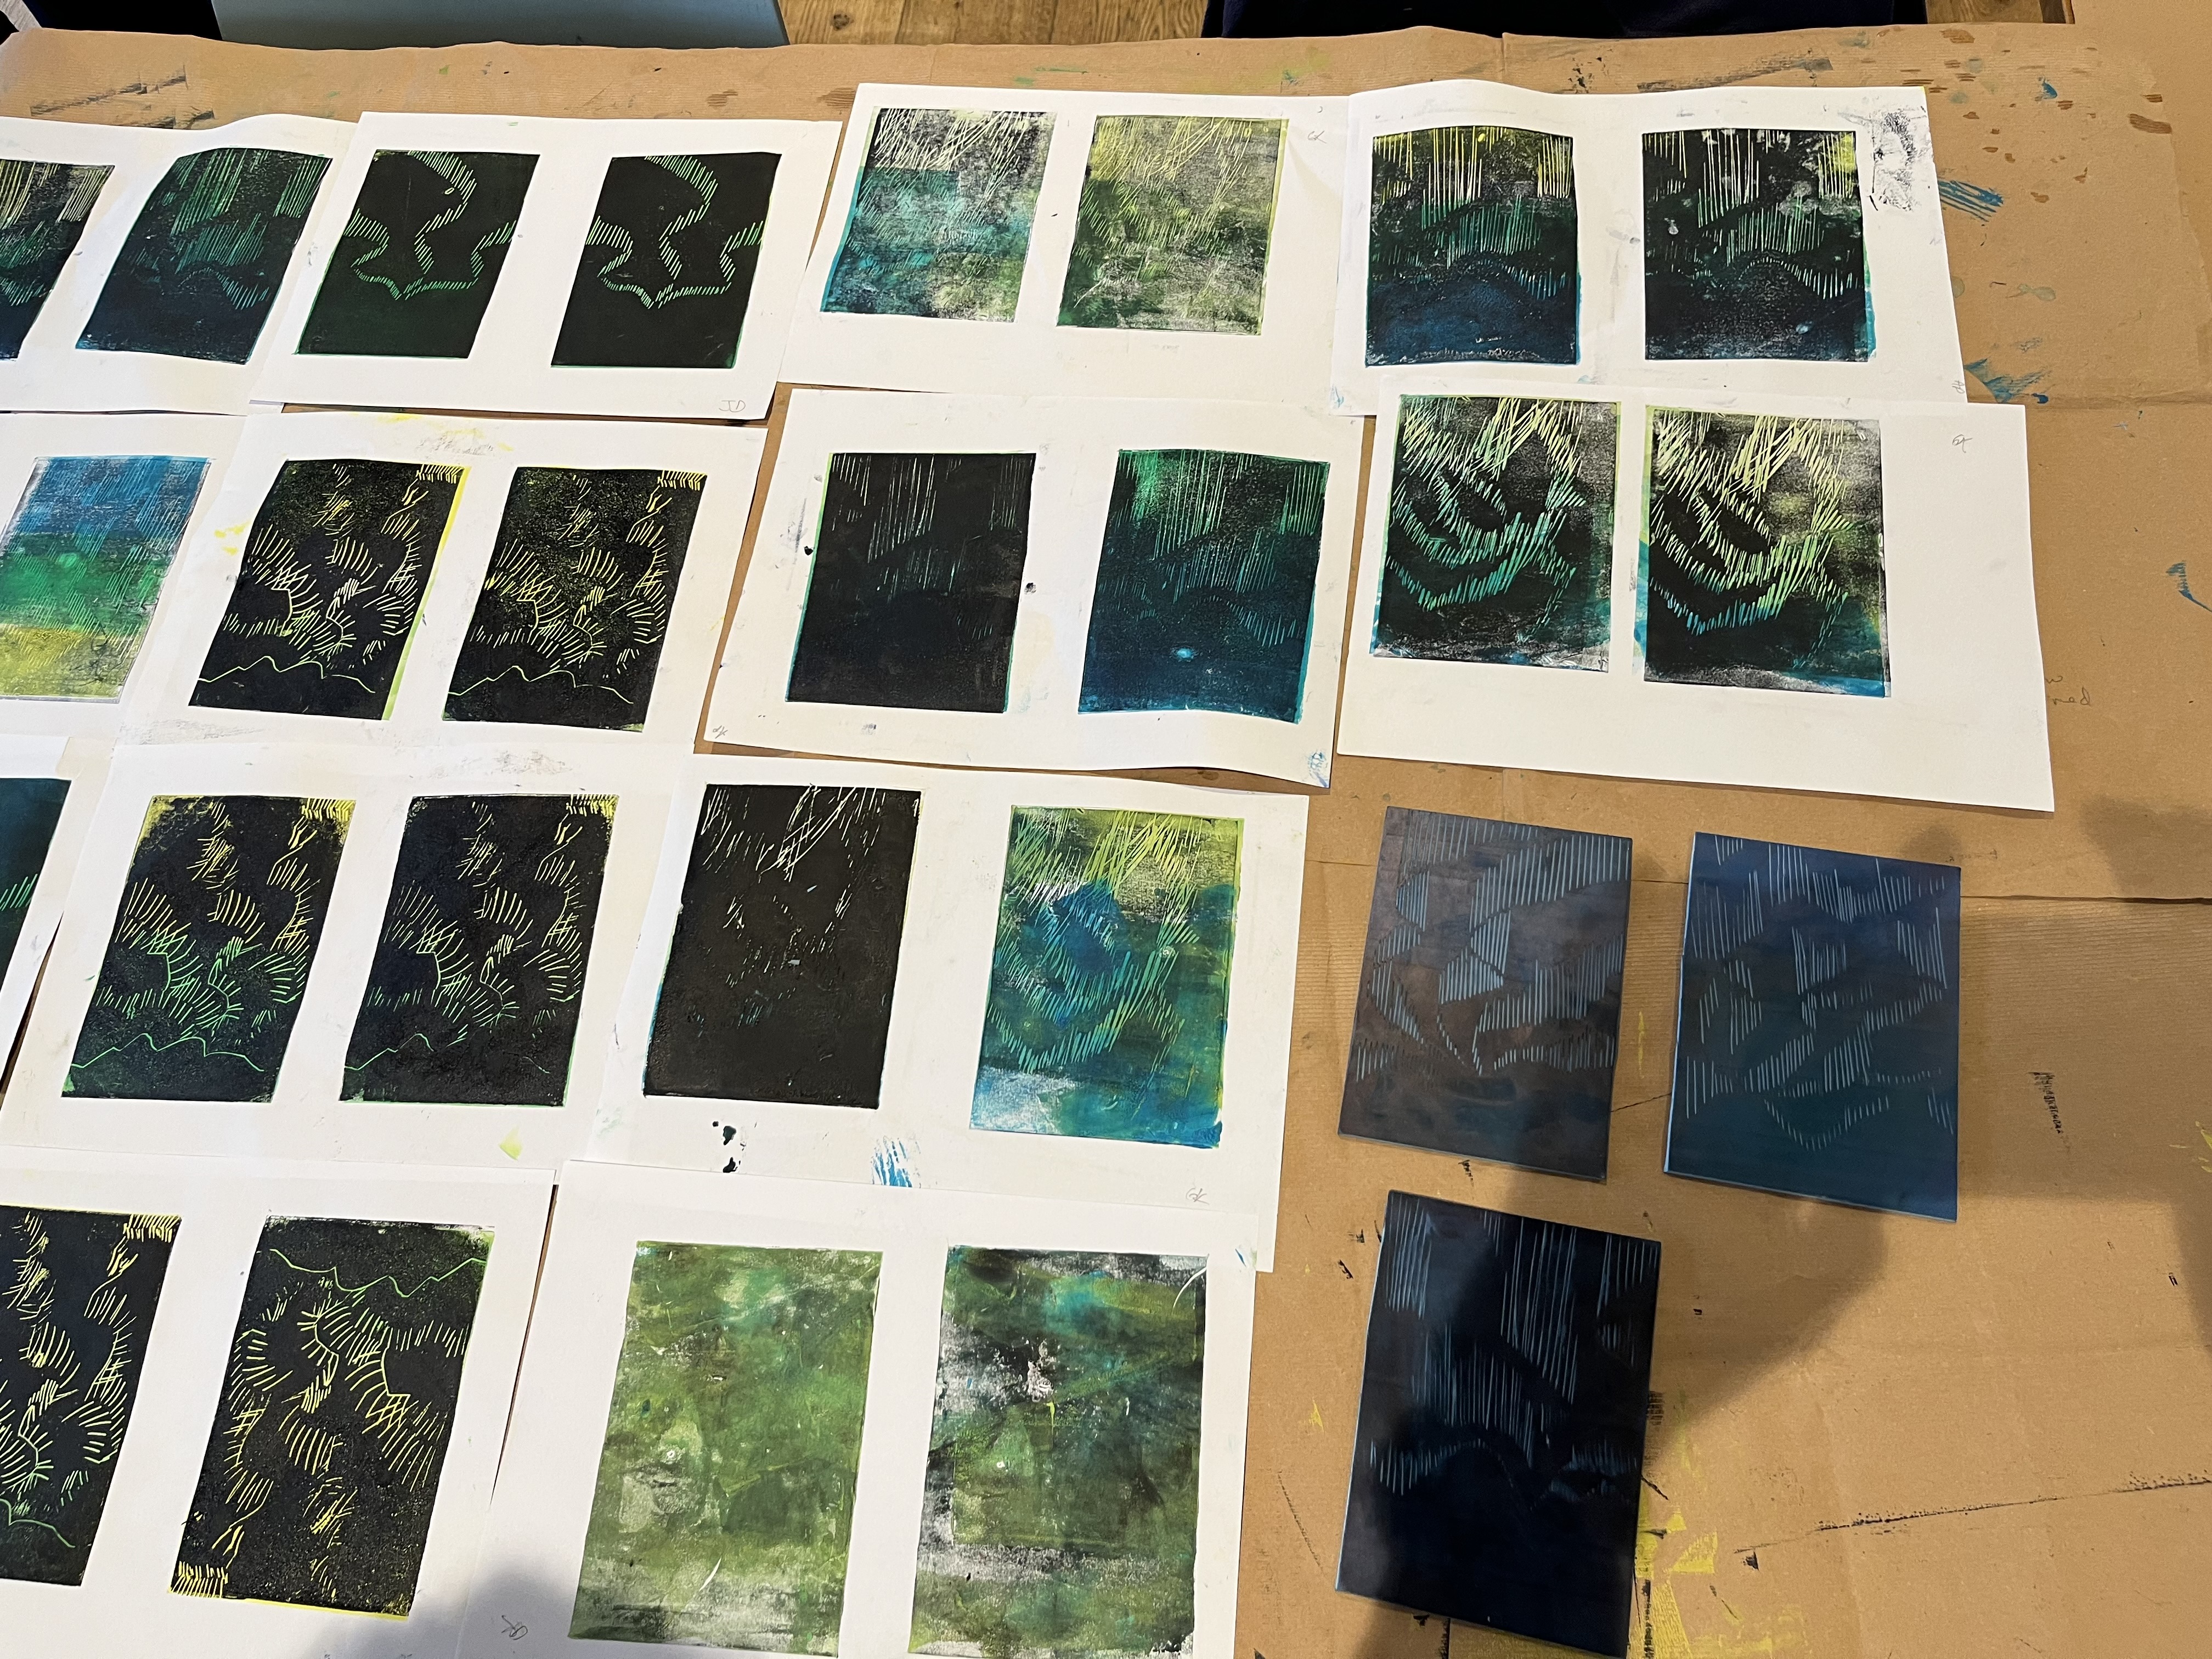
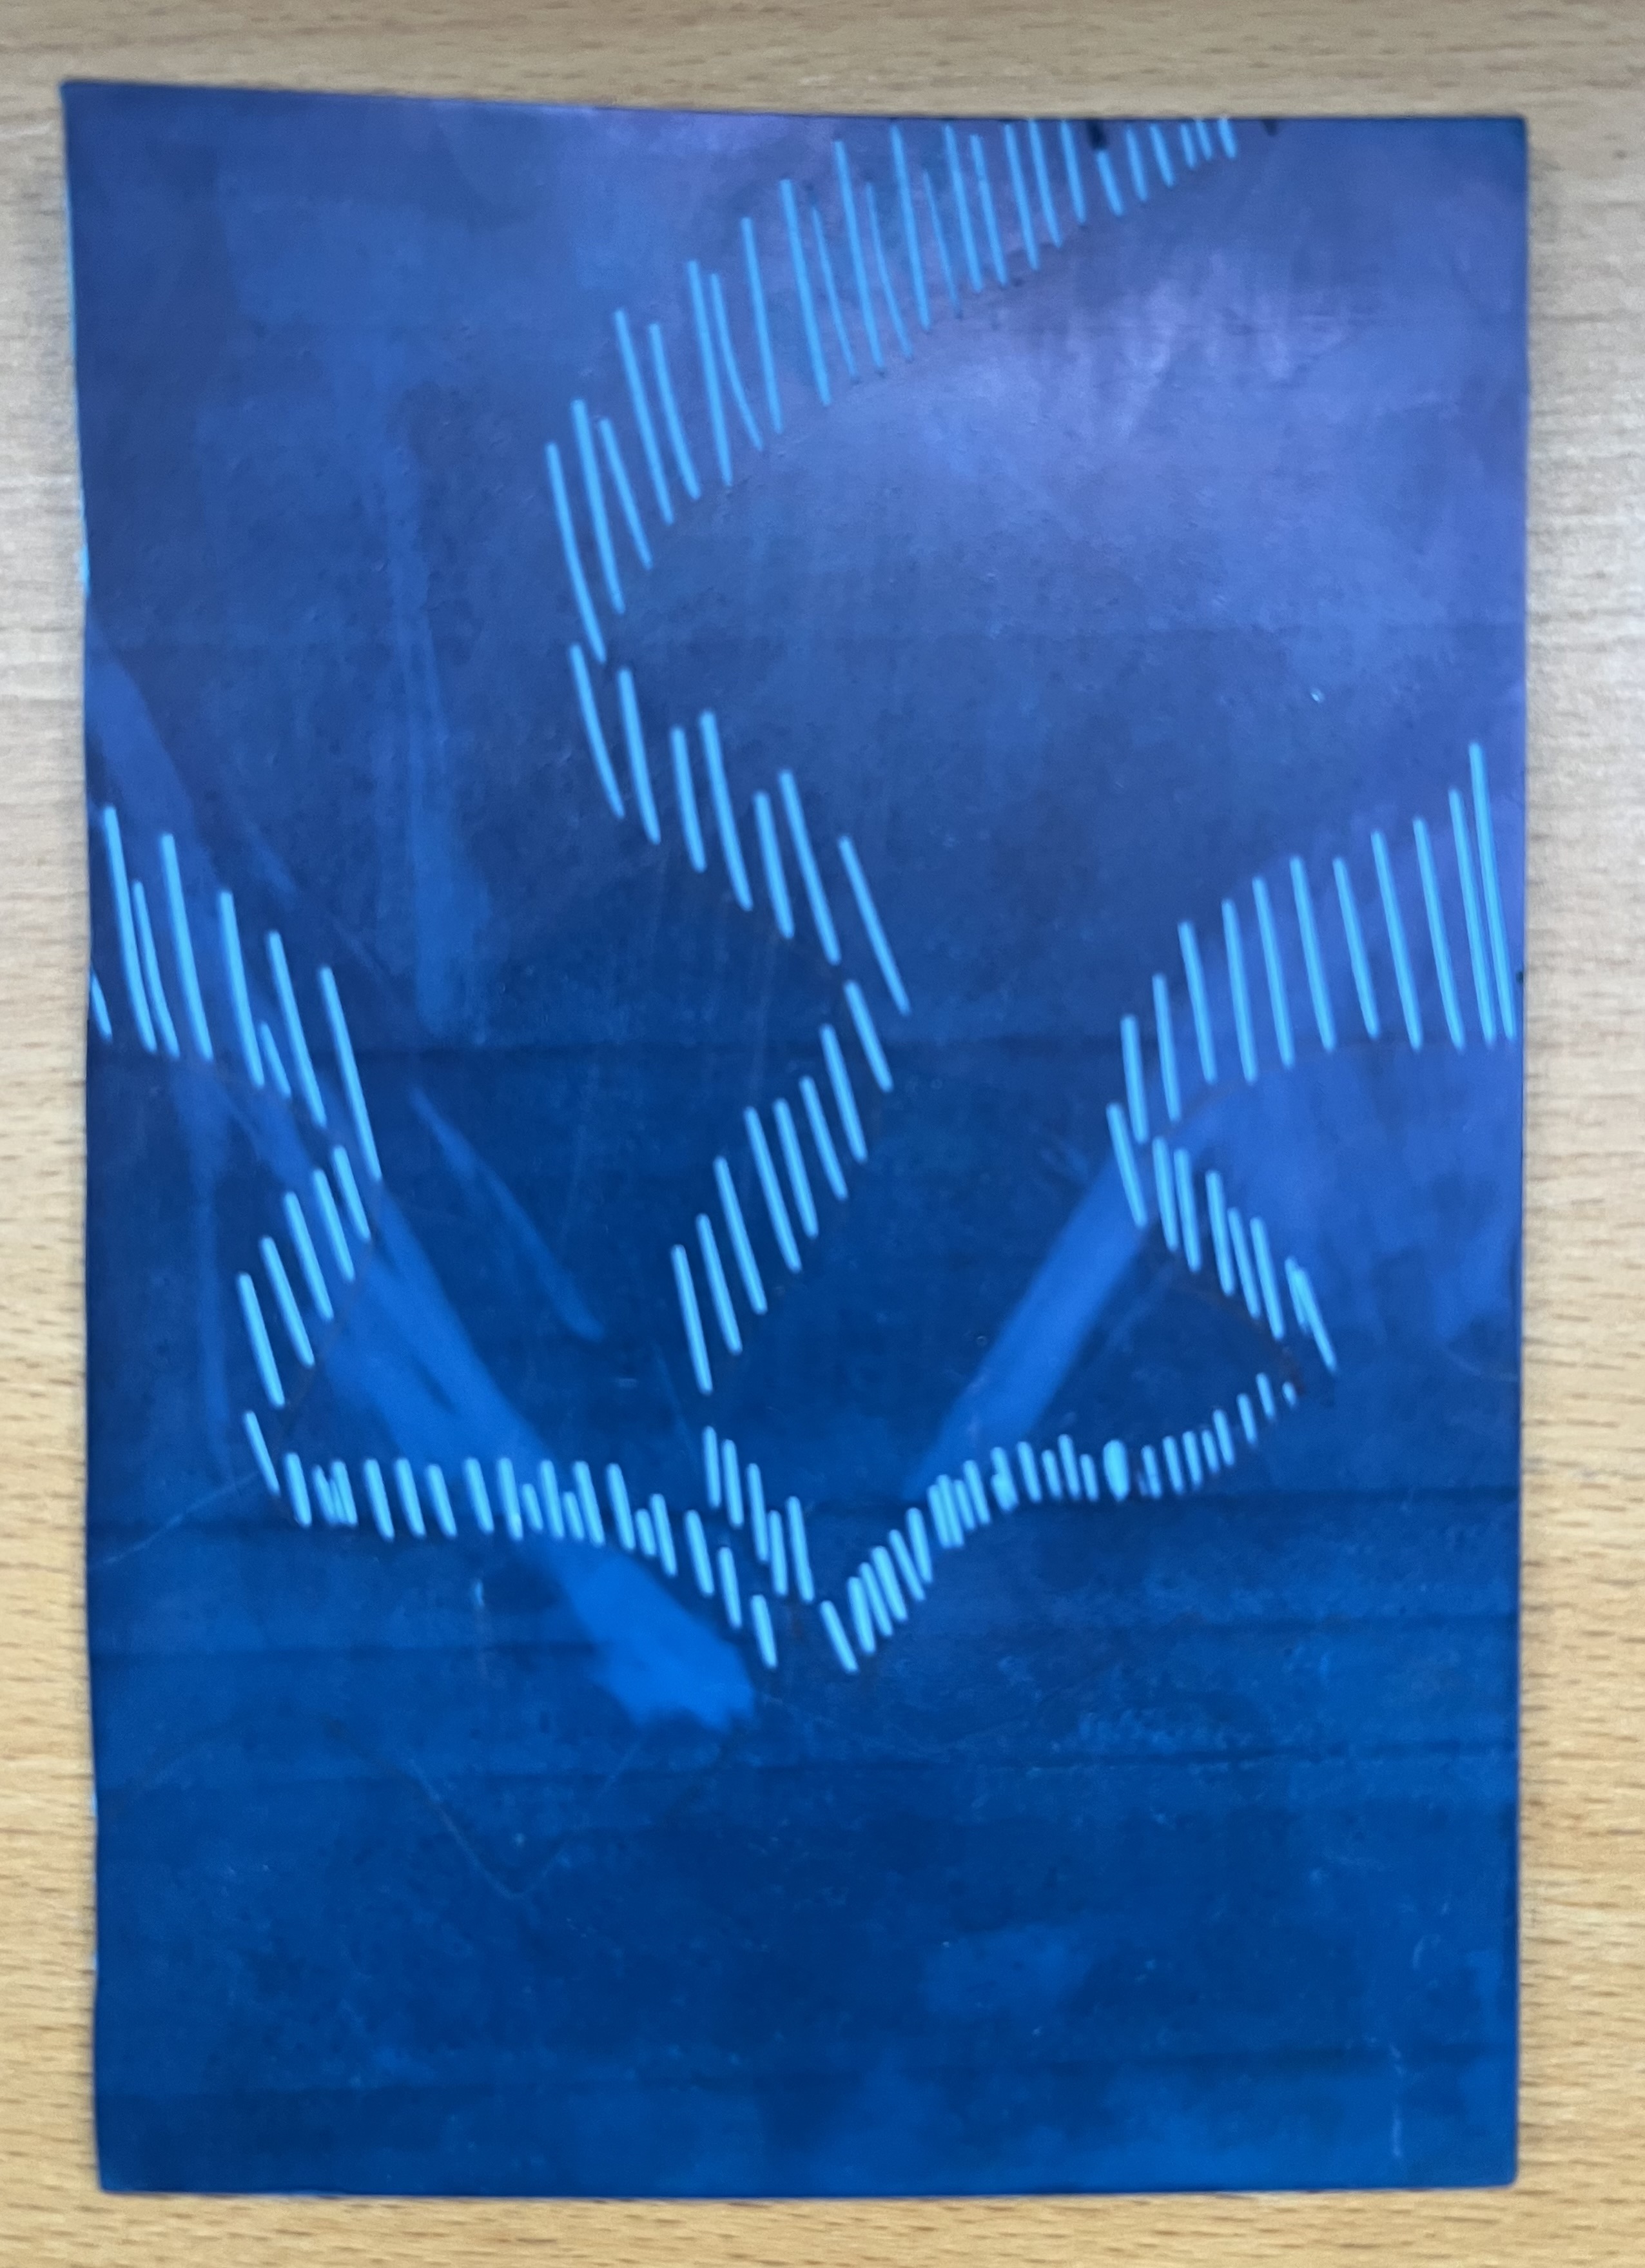
I knew I wanted to keep it simple today so, unlike some of my classmates, I went for just three curtains of the lights.
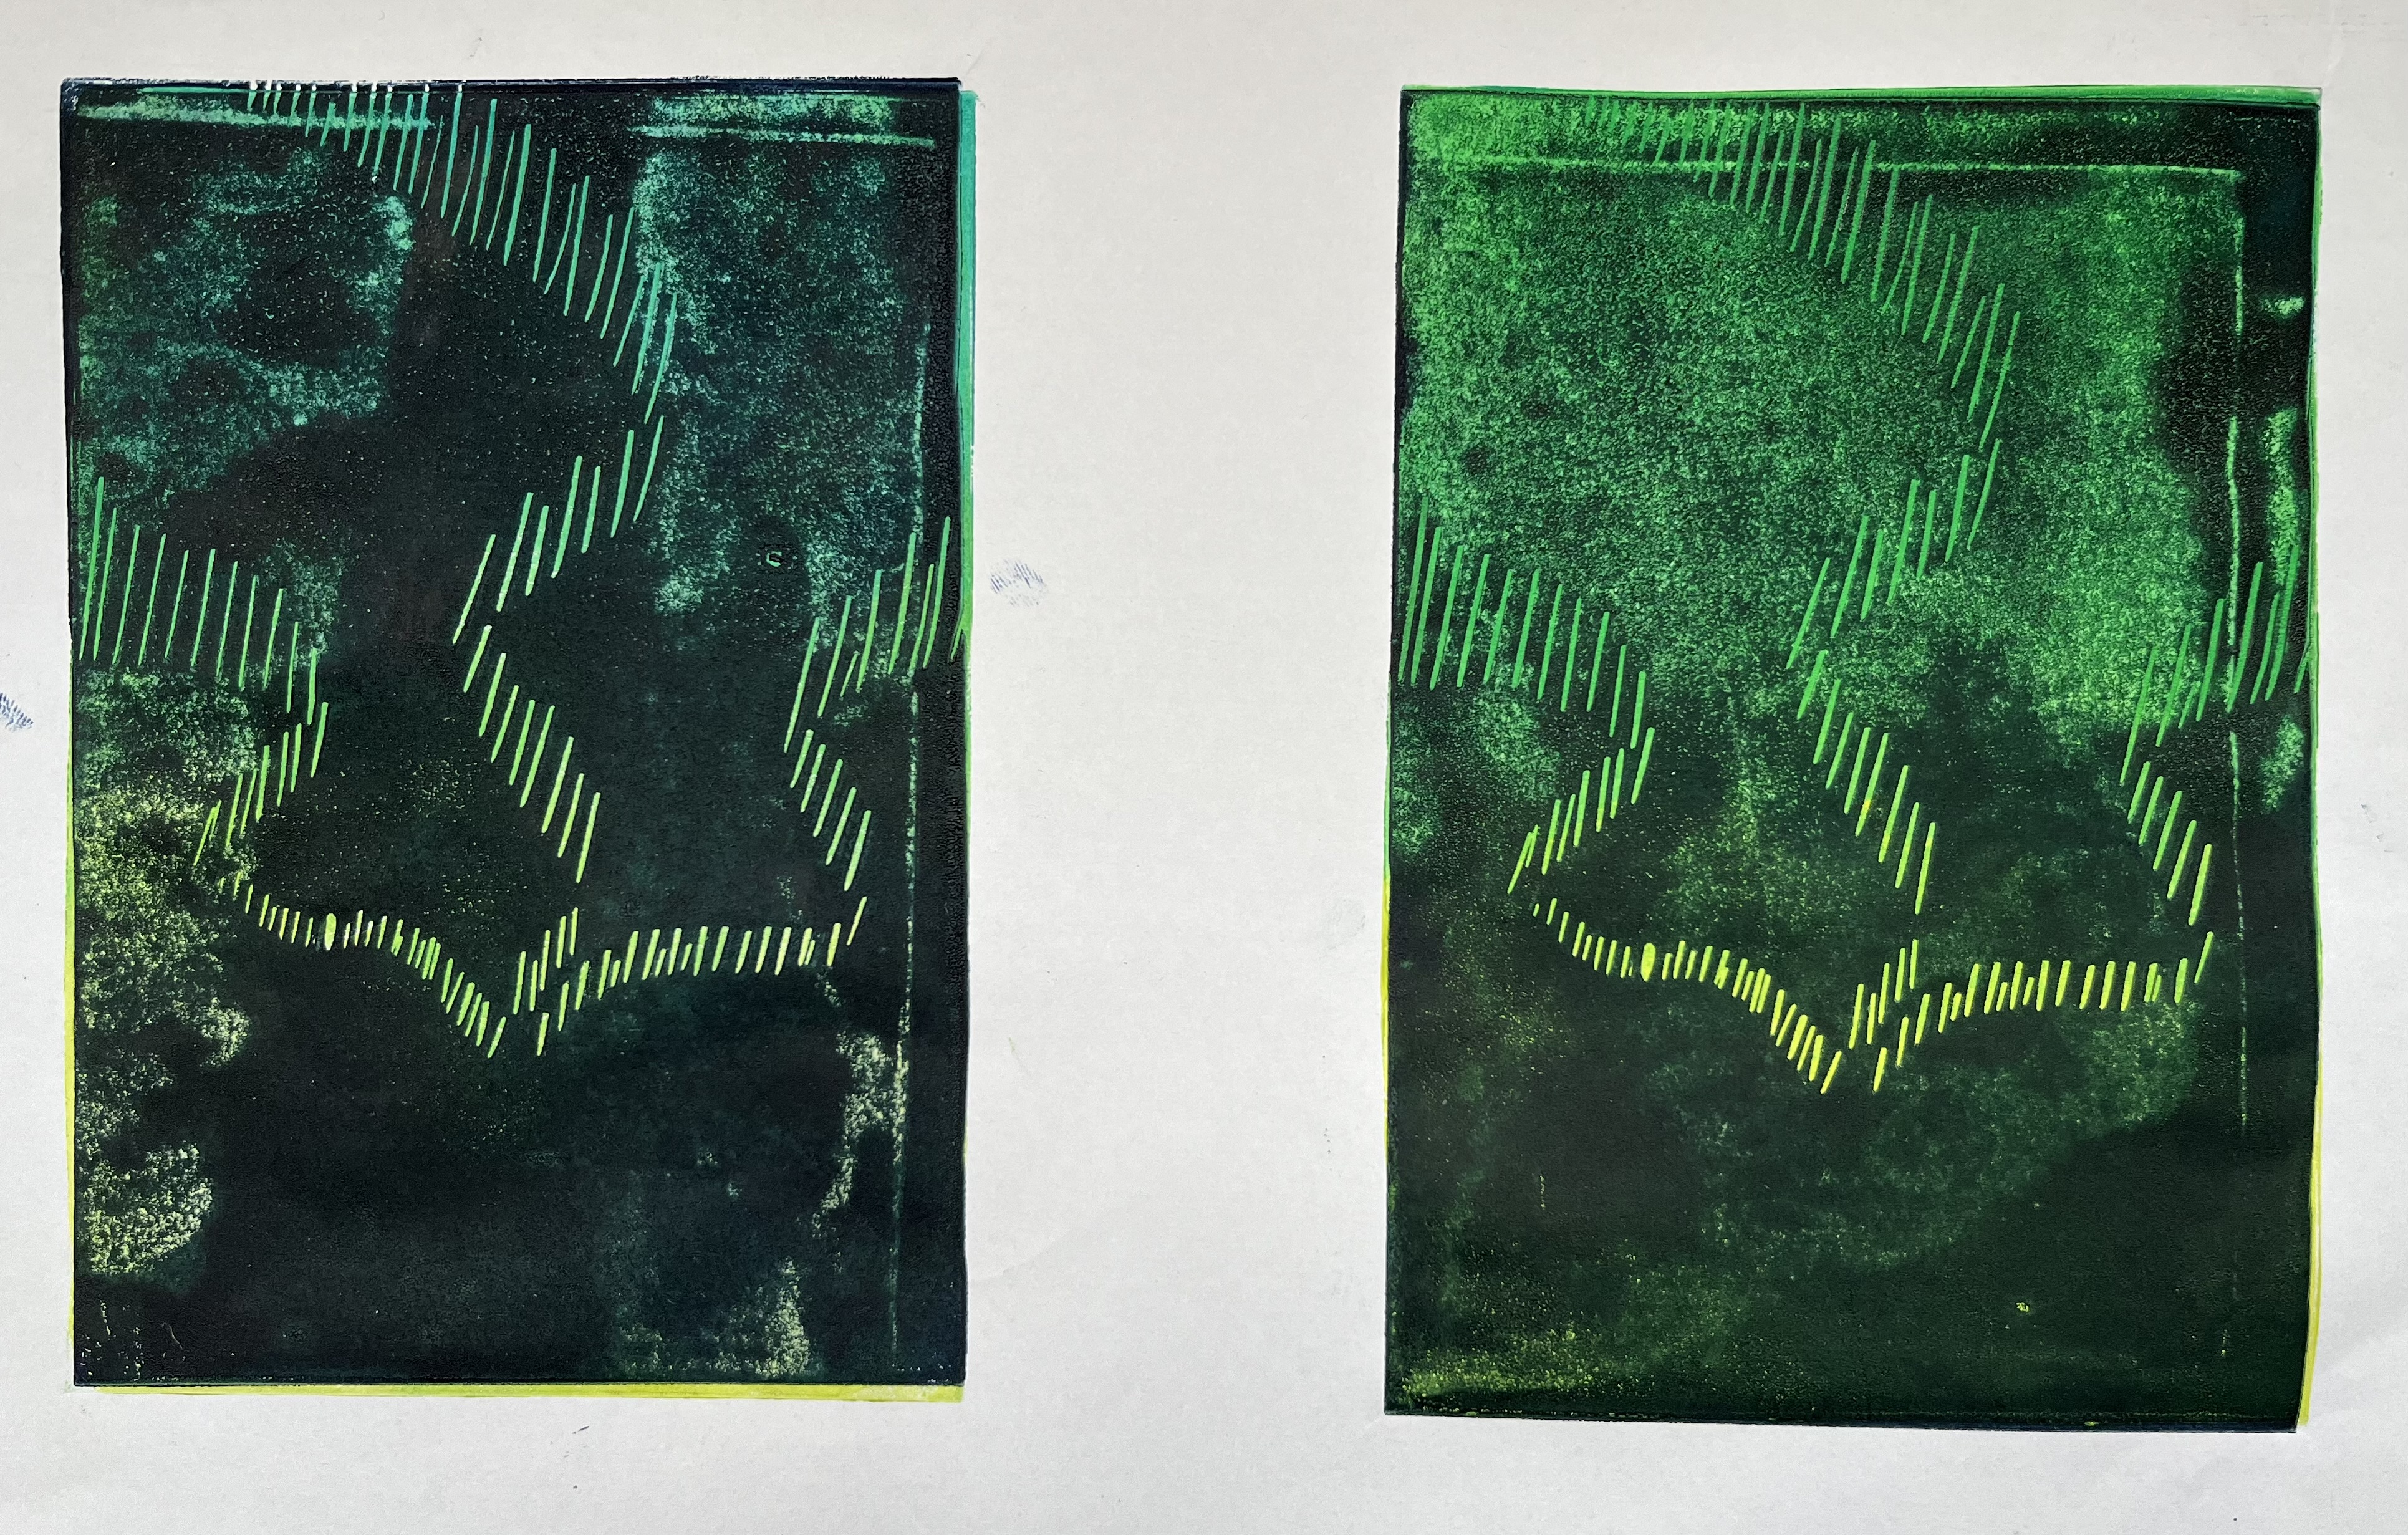
During the journey home the prints stuck together and I lost some of the darkness on a few of them. As I now have some kit at home I might give this another go later in the week. I’ll probably start again and include a mountain or something in the foreground, then do three-quarters of the background in graduated colours and leave the bottom white.
Key learnings this week:
- preparation: thinking about the theme and having an idea in mind helps me overcome my “but I don’t know what to do” feelings
- when cutting after a first printing, clean the lino first (ink + lino shavings = blobs)
- transport home with the best print on the top: today I sandwiched it between others with the thought it would be more protected. Instead it got wiped